
Password reset links usually carry a token in the URL. That is a normal pattern in many React apps.
A user clicks the reset link from email and lands on something like this:
/reset-password?token=abc123securetoken
React reads the token, sends it to the backend, and the backend checks whether the reset request is valid.
So far, nothing strange.
The part I would pay attention to is what happens after the token is verified. If the reset token stays in the browser address bar while the user enters a new password, it creates avoidable exposure. The token may end up in Chrome history, mobile browser back navigation, copied URLs, screenshots, analytics tools, error trackers, or even support tickets.
Keeping the token in the URL for a few seconds during verification may be unavoidable. But once the backend confirms it is valid, I prefer removing it from the visible URL.
This guide explains how to remove password reset token from URL after verification in React, how to do it with React Router, when window.history.replaceState() makes sense, and why backend invalidation is still the real security control.
For a deeper explanation of the security risk itself, SentrixHub has already covered password reset tokens in URLs and security risks. This article focuses more on the React implementation side.
Why Password Reset Tokens Stay in React URLs
Most reset flows start from an email.
The usual flow looks like this:
- User clicks “Forgot Password”
- Backend generates a reset token
- Backend stores the token or a hashed version of it
- Backend sends the reset link by email
- User opens the link
- React reads the token from the URL
- React sends the token to the backend
- Backend verifies the token
- User enters a new password
- Backend updates the password and invalidates the token
A reset URL often looks like this:
https://example.com/reset-password?token=abc123securetoken
In React, you might read it like this:
const params = new URLSearchParams(window.location.search);
const token = params.get("token");
Or with React Router:
const [searchParams] = useSearchParams();
const token = searchParams.get("token");
This is not automatically bad. The frontend needs a way to receive the token. Practical tutorials, like Paige Niedringhaus’ React and Nodemailer password reset walkthrough, show this kind of email-to-reset-page flow in a real JavaScript setup.
The issue is not that React reads the token.
The issue is leaving the token sitting in the browser URL after it has already been checked.
many React apps, the reset token first appears in the browser URL because the user comes from an email reset link.
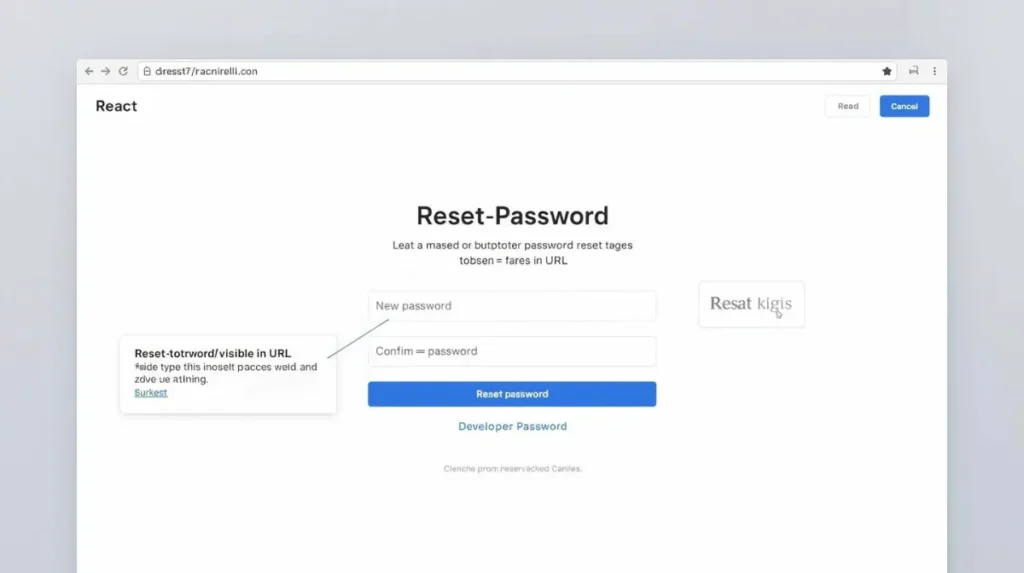
This is normal during the first step of the reset flow, but the token should not stay visible after backend verification.
Why Leaving a Reset Token in the Browser URL Can Be Risky
A password reset token is not the same as a normal query parameter like ?page=2 or ?category=security.
It is temporary account recovery access.
If someone gets a valid reset token before it expires, they may be able to continue the password reset flow depending on how your backend is designed.
A reset token in the URL can leak through:
- Chrome browser history
- copied links
- shared screenshots
- mobile browser back behavior
- analytics tools logging query strings
- error monitoring tools
- support tickets
- server or proxy logs
- someone looking over the user’s shoulder
Here’s a realistic example.
A developer is testing the reset flow on staging. The link works. The reset page opens. The token is visible in the URL. Then the developer takes a screenshot for a bug report and forgets that the full address bar is visible.
Now the token is inside a ticketing tool.
Another example: a user opens the reset link on a shared laptop. The reset token remains in browser history. Maybe the token expires quickly and nothing happens. But still, why leave sensitive data there if the app no longer needs it?
If you are building authentication in React, you should also review these password reset link risks junior React developers should avoid. That article covers broader mistakes around reset links, token expiry, localStorage, and backend validation.
Author Insight: In real React projects, the risky part is not always reading the reset token from the URL. The bigger problem is forgetting to remove it after verification and assuming the browser address bar is harmless.
Quick Video Guide: Before jumping into the React implementation, watch this short explanation of how a secure password reset flow should work. It will help you understand why the reset token should be verified by the backend first, then removed from the visible browser URL to reduce accidental exposure.
Video note: A secure reset flow is not only about cleaning the React URL. The backend must still validate, expire, and invalidate the reset token after use.
How to Remove Password Reset Token from URL After Verification in React
The flow I usually recommend is simple:
- Read token from URL
- Verify token with backend
- Remove token from URL
- Show reset form
- Submit new password
- Invalidate token on backend
- Redirect user to login
That gives you a cleaner user experience and reduces unnecessary token exposure.
After the backend confirms the token is valid, the frontend can clean the browser URL without breaking the reset flow.
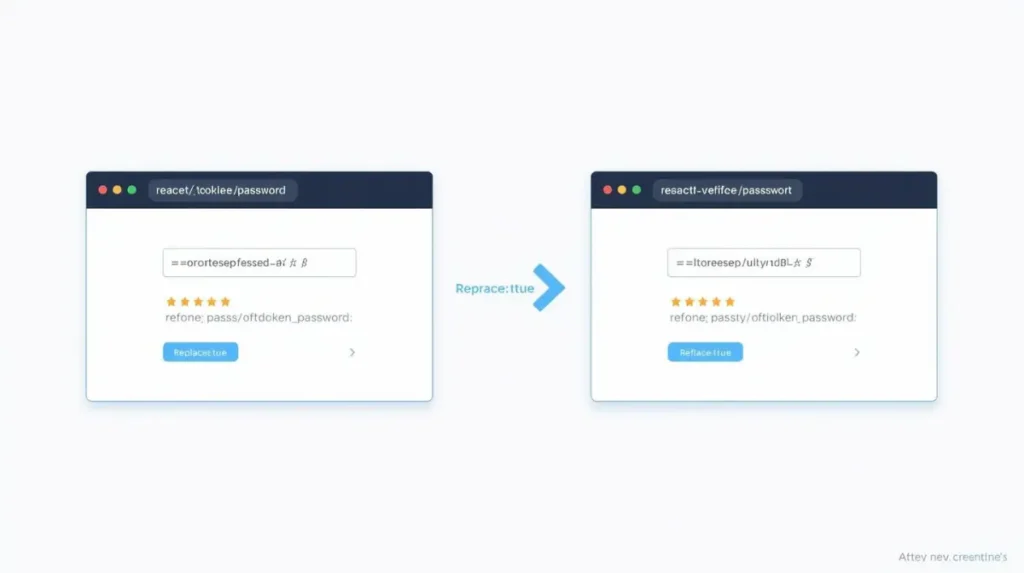
The key idea is simple: verify first, then replace the current history entry so the token is not sitting behind the browser back button.
Method 1: Use React Router navigate(..., { replace: true })
If your app uses React Router, this is usually the cleanest option.
import { useEffect, useState } from "react";
import { useNavigate, useSearchParams } from "react-router-dom";

function ResetPasswordPage() {
  const [searchParams] = useSearchParams();
  const navigate = useNavigate();
  const [status, setStatus] = useState("checking");

  useEffect(() => {
    const token = searchParams.get("token");

    async function verifyToken() {
      if (!token) {
        setStatus("invalid");
        return;
      }

      const response = await fetch("/api/auth/verify-reset-token", {
        method: "POST",
        headers: {
          "Content-Type": "application/json"
        },
        body: JSON.stringify({ token })
      });

      if (!response.ok) {
        setStatus("invalid");
        return;
      }

      setStatus("valid");
      navigate("/reset-password", { replace: true });
    }

    verifyToken();
  }, [searchParams, navigate]);

  if (status === "checking") return <p>Checking reset link...</p>;
  if (status === "invalid") return <p>Reset password token expired or invalid.</p>;

  return <ResetPasswordForm />;
}
What this code is doing:
React reads the token from the URL, sends it to the backend, and only removes the query string after the backend confirms the token is valid.
The important line is:
navigate("/reset-password", { replace: true });
The replace: true part matters because it replaces the current browser history entry. Without it, the old URL with the token may still be available when the user presses the back button.
A common mistake is using normal navigation without replace. The address bar looks clean, but the token URL may still be one back-click away.
Method 2: Use window.history.replaceState()
If your app is not using React Router, you can use the browser history API.
window.history.replaceState({}, document.title, "/reset-password");
Example:
useEffect(() => {
  const params = new URLSearchParams(window.location.search);
  const token = params.get("token");

  async function verifyToken() {
    const response = await fetch("/api/auth/verify-reset-token", {
      method: "POST",
      headers: {
        "Content-Type": "application/json"
      },
      body: JSON.stringify({ token })
    });

    if (response.ok) {
      window.history.replaceState({}, document.title, "/reset-password");
    }
  }

  if (token) verifyToken();
}, []);
What this code is doing:
It verifies the token first, then changes the visible URL without adding a new history entry.
My preference is straightforward: use React Router if the page is already part of a routed React app. Use replaceState() if you are working with a smaller custom flow and do not need router-level navigation.
The trade-off is not really security. Both can clean the visible URL. The trade-off is project structure and maintainability.
Remove Query Params with React Router
Sometimes the URL may contain more than one query parameter:
/reset-password?token=abc123&type=recovery
If you only want to remove the token, you can do this:
const params = new URLSearchParams(window.location.search);
params.delete("token");

navigate(
  {
    pathname: "/reset-password",
    search: params.toString() ? `?${params.toString()}` : "",
  },
  { replace: true }
);
What this code is doing:
It removes only the token parameter and keeps any other safe query parameters.
In most reset password flows, I personally prefer clearing all reset-related query params after verification. Reset pages should be simple. Once the token has been checked, don’t keep it sitting in the address bar for no reason.
How to Invalidate Password Reset Token on Backend
Removing the token from the frontend URL is good housekeeping.
But it does not invalidate the token.
The backend still needs to protect the account.
A secure backend should check:
- token exists
- token belongs to the correct user
- token is not expired
- token has not already been used
- token is invalidated after password reset
Removing the token from the URL is only frontend cleanup. The backend still needs to validate, expire, and invalidate the reset token.
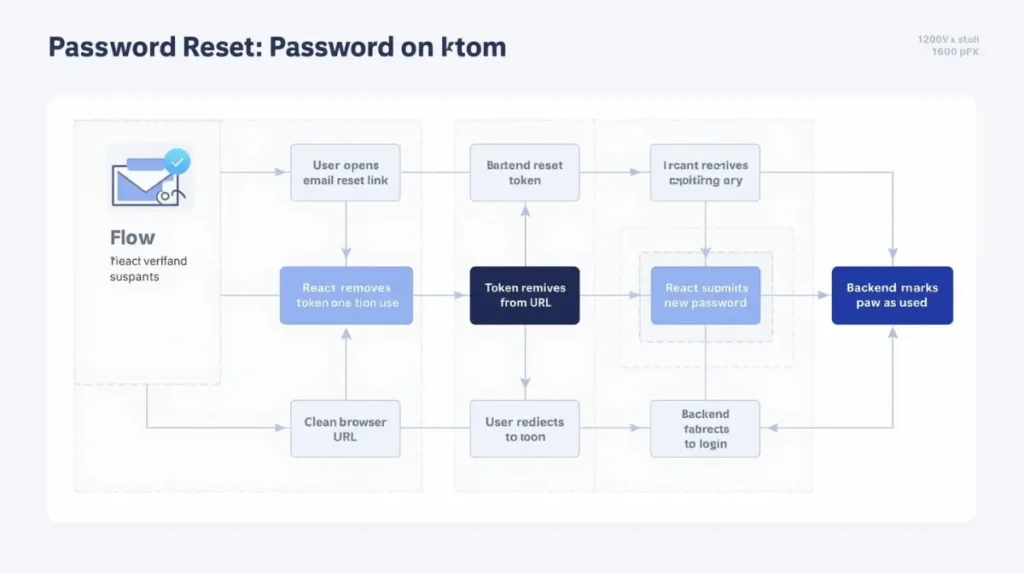
Frontend cleanup reduces exposure, but backend invalidation is what actually protects the user account.
A practical DEV.to password reset implementation in Node.js shows the common backend pattern: create a token, store it with expiry, verify it, and remove or invalidate it after use.
Example backend logic:
if (!tokenRecord || tokenRecord.usedAt || Date.now() > tokenRecord.expiresAt) {
  throw new Error("Invalid or expired reset link");
}

await updateUserPassword(userId, newPasswordHash);

await markResetTokenAsUsed(tokenRecord.id);
What this code is doing:
It rejects missing, used, or expired tokens before changing the password. After the password is updated, it marks the token as used so the same link cannot work again.
Removing the token from the URL should be treated as exposure reduction, not token revocation.
Password reset security also connects with broader account protection habits, including avoiding dangerous password practices.
Author Insight: I usually treat URL cleanup as housekeeping, not security enforcement. The real enforcement still belongs on the server.
Common Mistakes Developers Make
These are not dramatic mistakes. Most of them happen during normal debugging when the developer is just trying to make the flow work.
Using redirect without replace
The visible URL may change, but the token URL can still remain in browser history.
Ignoring invalid token UX
A broken page is not helpful. Show a simple message like: “Reset password token expired or invalid.”
Storing token in localStorage
Avoid this. Reset tokens should not become long-lived browser data.
Logging full URLsconsole.log(window.location.href) can expose the token in screenshots, recordings, or monitoring tools.
Not checking analytics behavior
Some analytics tools capture full URLs with query params. Make sure reset token URLs are not being logged.
Not testing copied URLs
Copy the original reset link and open it in another browser. The backend should still control whether it works.
A Reddit discussion about recovering reset password tokens in a React/Supabase flow is a useful reminder that real apps can get confusing when redirects, URL hashes, and query params are involved.
Best Practices for Secure Password Reset Flow in React
Before shipping, check these basics:
- Verify the token with the backend before showing the reset form
- Remove password reset token from URL after verification
- Use
navigate(..., { replace: true })when using React Router - Use
replaceState()for simple non-router flows - Do not store reset tokens in localStorage
- Do not log tokens or full reset URLs
- Use short expiry
- Make tokens one-time use
- Mark tokens as used or delete them after reset
- Show clear invalid/expired token messages
- Check browser back button behavior
- Test mobile browser behavior
- Check analytics and error tools for query logging
- Use HTTPS only
For secure authentication flows, HTTPS and certificate handling also matter. SentrixHub has explained related dangerous SSL validation mistakes that developers should avoid.
My Recommended React Flow
Here is the flow I would use for most beginner-friendly React apps:
- Read token from URL
- Verify with backend
- Remove token from URL
- Show reset form
- Submit password
- Invalidate token
- Redirect to login
This flow is not over-engineered. It just avoids leaving sensitive data in places where browsers, tools, or users can accidentally carry it forward.
You can also explore more SentrixHub API security and authentication guidance to understand how backend validation supports secure application flows.
Quick Test I’d Run After Implementing
Before publishing the feature, I would manually test:
- Open reset email
- Verify token
- Check URL after verification
- Press the browser back button
- Refresh the page
- Try the same token again
- Try an expired token
- Copy the original reset URL into another browser
- Check Chrome browser history
- Test mobile browser back behavior
- Check analytics and error tools for query params
These small tests catch the kind of issues that are easy to miss during normal development.
Before publishing the feature, test the browser behavior instead of checking only the happy path.
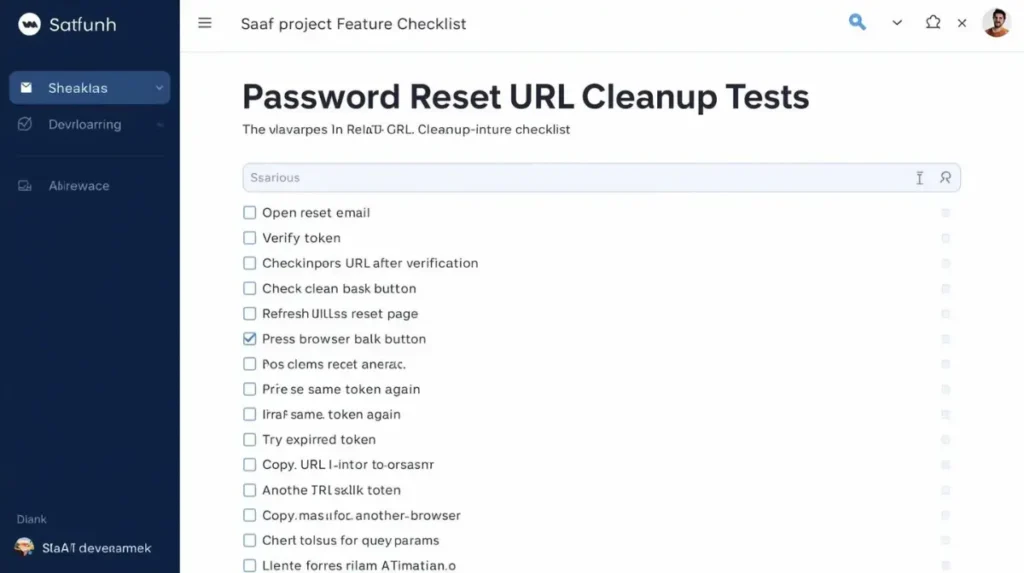
These small checks catch the mistakes that usually slip through normal local testing.
FAQ
How to remove password reset token from URL in React?
Use React Router navigate("/reset-password", { replace: true }) after backend verification. If you are not using React Router, use window.history.replaceState() to clear the token from the browser URL.
Can password reset tokens stay in browser history?
Yes. If the token is part of the URL, browsers may store it in history. Using replace: true or replaceState() reduces exposure, but backend expiry and one-time use are still required.
Should I remove the reset token before or after backend verification?
Usually after backend verification. If you remove it before checking and verification fails, the user flow can become confusing. Verify first, then clean the URL.
How to invalidate password reset token?
Invalidate it on the backend by marking it as used or deleting it after a successful password reset. Also check expiry, ownership, and reuse before changing the password.
Should password reset tokens expire?
Yes. Password reset tokens should expire quickly. Expiry must be enforced on the backend, not only in React.
Is React Router enough to remove query params?
React Router can remove query params from the visible URL, but it does not invalidate the token. Backend validation and token invalidation are still required.
Conclusion
To remove password reset token from URL after verification in React, read the token, verify it with the backend, then clean the browser URL using React Router navigate(..., { replace: true }) or window.history.replaceState().
This reduces accidental exposure through browser history, copied URLs, screenshots, analytics tools, and logs.
But the important distinction is simple: frontend cleanup improves safety, while backend invalidation protects the account.
A secure password reset flow in React is not one magic line of code. It is a chain of small decisions: verify early, remove sensitive URL data, handle invalid links clearly, invalidate tokens properly, and test real browser behavior before production.

Abdul Shakoor writes practical, defensive cybersecurity and networking guides for SentrixHub. He focuses on making API security, mobile app security, authentication, and network concepts simple for beginners and developers.